
Before You Place a 5,000-Piece Order, Hold This Pipe in Your Hand
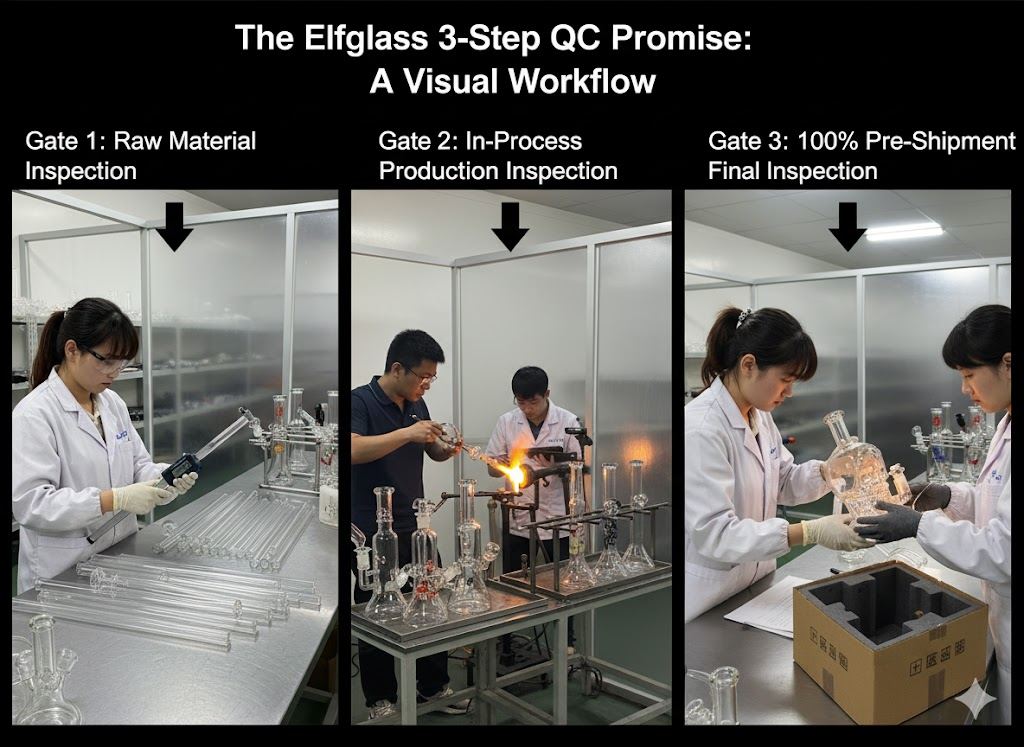
A factory can send you a PDF catalog with 200 products, professional photos, and competitive pricing. None of that tells you whether the glass wall is evenly blown, whether the joint fits snugly, or whether the color will shift after the first annealing cycle. The only way to evaluate a glass pipe supplier before committing to a production order is to hold a physical sample — and evaluate it against a structured checklist, not a gut feeling.
This article is the checklist. It covers what to request from your supplier, how to inspect each sample when it arrives, the specific measurements that separate production-ready glass from factory seconds, and how to document your findings in a way that holds up when you negotiate with the supplier about quality disputes. Every point here comes from the reality of wholesale glass pipe sourcing — not from a textbook quality management course, but from the experience of receiving 500 sample pipes from 30 different factories over 16 years.
Why Sample Evaluation Is the Highest-ROI Step in Sourcing
A production order of 5,000 borosilicate hand pipes at $4.50 each is $22,500 in goods plus shipping. If the quality is wrong — uneven walls, poor annealing, incorrect color — you face three bad options: accept the goods and sell inferior product (damaging your brand), reject the goods and wait 6-8 weeks for a replacement shipment, or negotiate a partial discount on goods you do not fully trust.
The cost of a sample evaluation is typically $50-200 in sample fees plus $30-80 in air shipping for a handful of pieces. That is 0.5-1.0% of the production order value. Skipping a step that costs 1% to avoid a risk that could cost 100% of the order value is not frugal — it is reckless. Every experienced buyer evaluates samples before production. The question is how thoroughly.
What to Request: The Sample Kit Specification
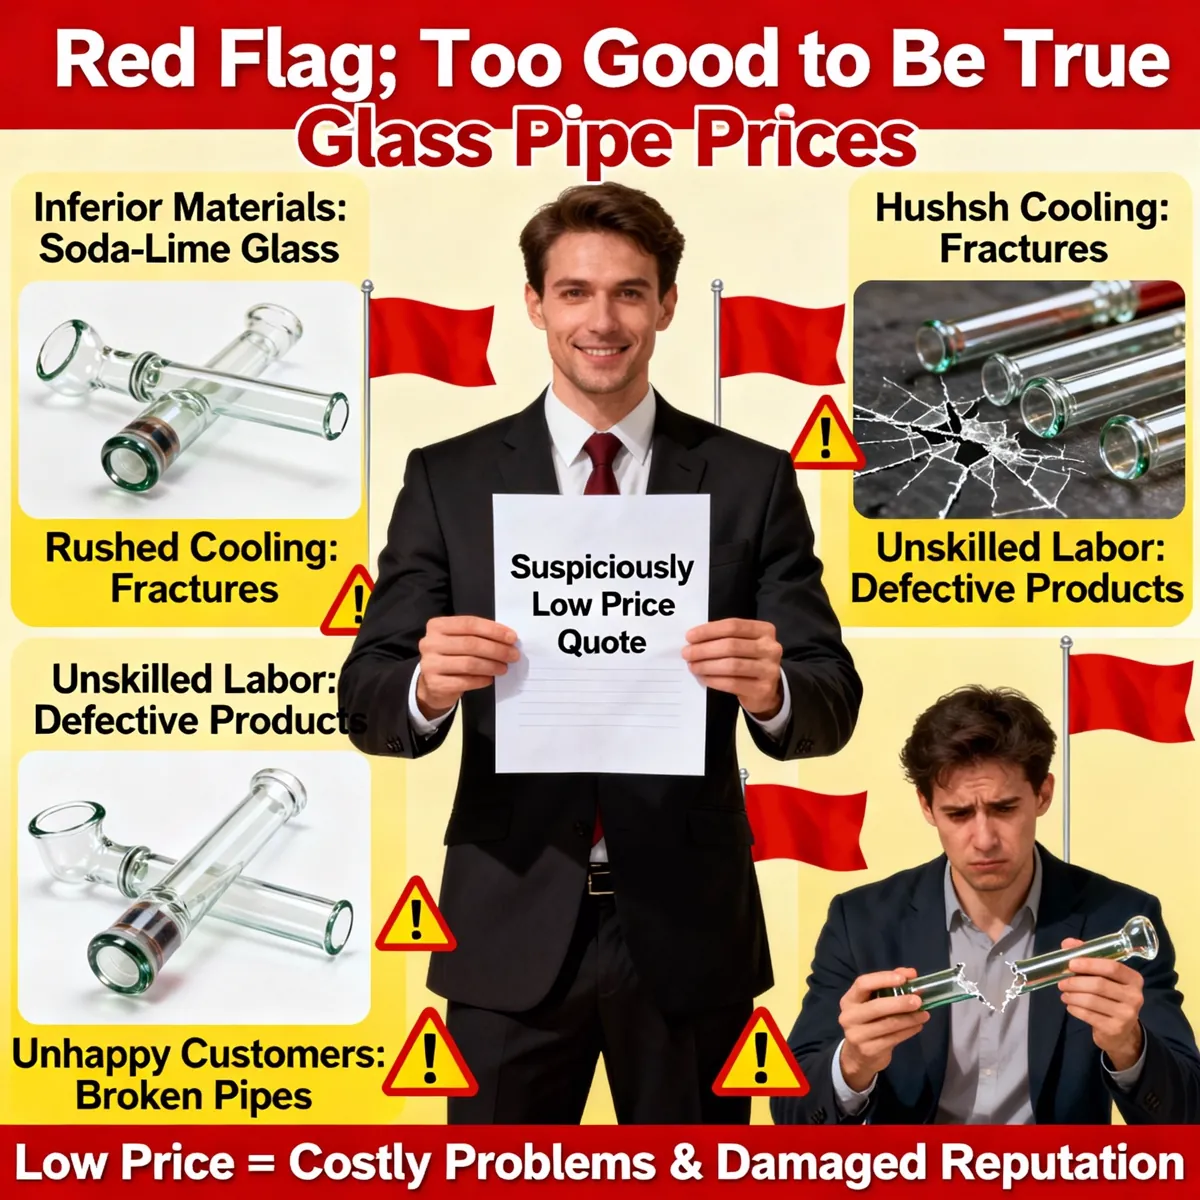
Do not just ask for “a sample.” Specify exactly what you need. A proper sample kit for a glass pipe supplier evaluation should include:
| Sample Item | Quantity | Purpose |
|---|---|---|
| Standard hand pipe (their bestseller) | 3 pieces | Baseline quality benchmark — tests consistency across 3 units of the same SKU |
| Custom color sample (your specified color) | 2 pieces | Tests whether the factory can match your color specification, not just their catalog |
| Custom design or logo sample (if applicable) | 2 pieces | Tests logo application quality — sandblast, laser, or enamel fill |
| Joint/downstem sample (if ordering water pipes) | 2 pieces | Tests joint fit — the most common functional failure point |
| Raw glass coupon (uncut piece of their stock material) | 1 piece | Tests glass type verification — COE, wall thickness, bubble content |
Total: approximately 10 pieces. Ask the supplier to label each piece with a SKU or batch code so you can track which sample came from which production line or shift. If the supplier refuses to send more than 1-2 samples, that is a data point — it may indicate they are not confident in their consistency.
The Inspection Checklist: 14 Points When the Samples Arrive
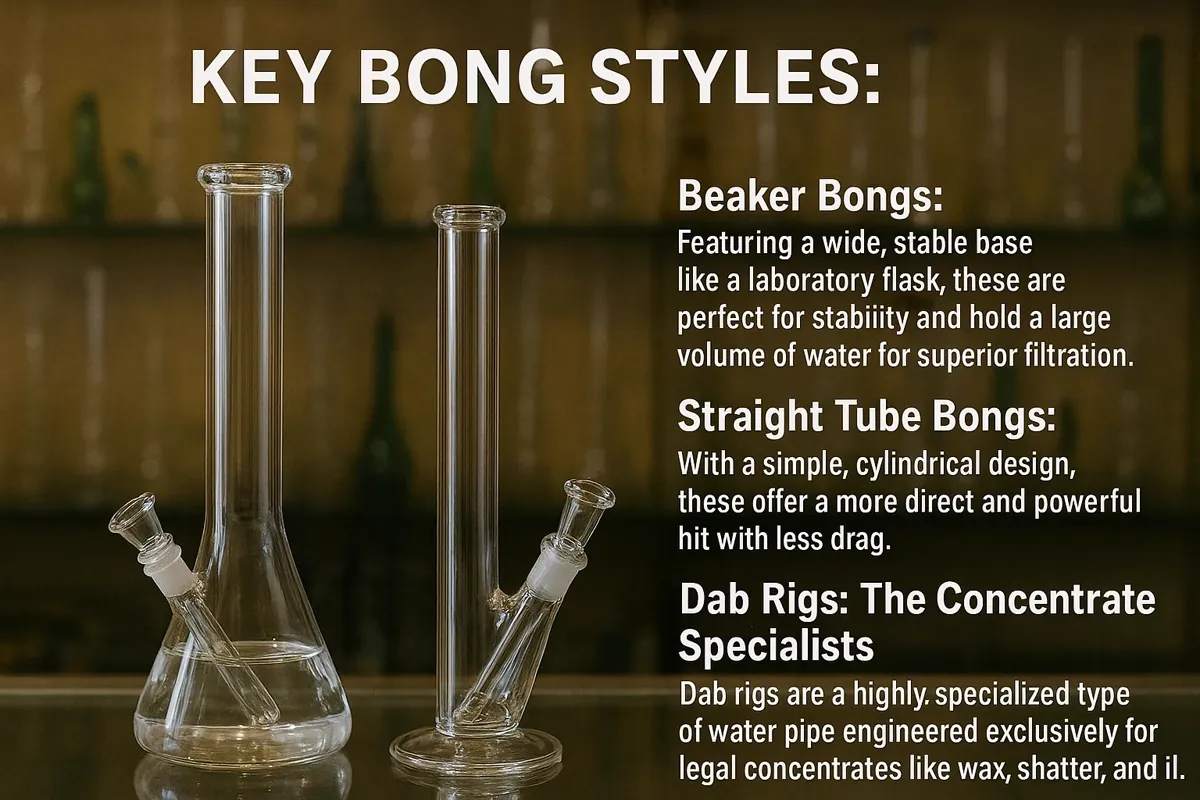
When the sample kit arrives, do not just look at it and say “looks good.” Use a structured inspection. The following 14-point checklist covers the dimensions that matter for wholesale glass pipe quality:
Visual Inspection (6 Points)
1. Bubble content. Hold the pipe up to a strong light. Count visible bubbles in the glass wall. A few tiny bubbles (under 1 mm) are normal in hand-blown glass. More than 5 bubbles per 10 cm of wall, or any bubble over 2 mm, indicates poor melting technique or contaminated batch material. Production-quality boro should have fewer than 3 visible bubbles per 10 cm.
2. Wall thickness consistency. Look through the bowl and along the stem. The wall should appear uniformly thick — no visible thin spots or thick accumulations. Use a digital caliper to measure at 3 points along the stem. Variation should be within ±0.3 mm. If one side of the stem is noticeably thinner, the glassblower is inconsistent or the mold is worn.
3. Color uniformity. Compare the 3 standard samples side by side. They should be visually identical in color under the same lighting. If one is noticeably lighter or darker, the factory has batch-to-batch color control problems — and your production order will arrive with mixed shades.
4. Surface finish. Run your finger along the outside of the pipe. It should feel smooth with no ridges, tool marks, or rough spots. Any texture you can feel will be visible to a retail customer. Hand-blown pipes should still feel finished, not raw.
5. Logo/application quality. If you ordered custom logo samples, examine the edges of the design. Sandblast logos should have clean edges with no bleeding. Laser engraving should be crisp with no charring on borosilicate. Enamel fills should be even with no gaps between the fill and the engraved channel.
6. Flame polish quality. The rim of the bowl and the mouthpiece should be flame-polished to a smooth finish. Check for fire polish lines — thin cracks that form when the flame is too hot or applied unevenly. Run your lip against the mouthpiece; any roughness means inadequate fire polishing.
Dimensional Inspection (4 Points)
7. Overall length. Measure with a caliper or ruler. Compare to the supplier’s stated dimension. Tolerance should be within ±2 mm for hand-blown pipes. If the sample is 15 mm longer or shorter than spec, the factory does not hold dimension — and your retail packaging may not fit.
8. Joint diameter (if applicable). For water pipes or pieces with joints, measure the male and female joint diameters. Standard sizes are 10 mm, 14 mm, and 18 mm. The joint should fit snugly with a slight twist — no wobble, no forcing. A joint that requires force to connect will crack under thermal stress.
9. Bowl depth and diameter. Measure the bowl interior. Depth and diameter determine the practical load capacity. If you are selling to retailers who expect a specific bowl size for their market, deviation from spec means customer complaints.
10. Weight. Weigh each sample on a digital scale. Three samples of the same model should be within ±5 grams of each other. Weight variation indicates wall thickness inconsistency — the same problem you spotted visually in point 2, now quantified.
Functional Tests (4 Points)
11. Thermal shock test. Pour hot water (80-90°C) into the bowl, then immediately run cold water over the outside. Wait 60 seconds. Inspect for any hairline cracks. Borosilicate glass (COE 3.3) should survive this test without damage. If it cracks, the supplier may be using lower-grade glass or insufficient annealing.
12. Airflow test. For hand pipes, cover the carb hole and draw air through the bowl. The airflow should be smooth and unrestricted. For water pipes, assemble the joint and draw through the downstem. Air should bubble freely with no obstruction. Any blockage indicates poor internal finishing or a glass shard left inside.
13. Stability test. Set the pipe on a flat surface. It should sit without rocking. If the base is uneven, the pipe will tip over on retail shelves — a breakage risk and a customer complaint magnet.
14. Pack test. Place the sample in the packaging you plan to use (or the packaging the supplier provides). Check whether the pipe fits securely without excessive movement. A pipe that rattles inside its box will break in transit. This is not a glass quality test — it is a packaging compatibility test, and it catches problems that cause shipping damage claims.
Get a Sample Kit Before You Commit
We ship evaluation samples in 1 to 3 days so you can run the full 14-point inspection on real production glass. Request a sample kit and judge the quality yourself before your bulk order.
MOQ from 100 pieces | BSCI / WRAP / ISO 9001 | NDA before every project
Scoring the Samples: A Quantitative Approach
Do not evaluate samples with a thumbs-up/thumbs-down instinct. Score each point on a 1-5 scale and calculate a weighted total. This gives you an objective basis for comparing multiple suppliers:
| Category | Points | Weight | Max Score |
|---|---|---|---|
| Visual quality | 1-6 | 2x (critical for retail) | 60 |
| Dimensional accuracy | 7-10 | 1.5x (important for packaging/fit) | 30 |
| Functional performance | 11-14 | 2x (critical for end-user satisfaction) | 40 |
| Total possible | 130 |
Scoring guide: 110-130 = production-ready (proceed to order). 85-109 = conditional (specific issues must be fixed before production; request corrected samples). Below 85 = reject (the supplier’s quality baseline is below wholesale standard; do not place an order hoping it will improve).
Common Red Flags That Should Stop You Cold
Some sample issues are not negotiable. If you see any of these, do not place a production order regardless of price:
| Red Flag | What It Means | Why It Matters |
|---|---|---|
| Sample cracks during thermal shock test | Wrong glass type or failed annealing | Production units will crack in normal use; product liability risk |
| Joint does not fit (too loose or too tight) | Poor mold or no quality control | Every unit will have the same problem; not fixable at destination |
| Three “identical” samples look visibly different | No batch consistency control | Your order will arrive with mixed quality; retail customers will notice |
| Sharp edges on bowl rim or mouthpiece | Inadequate fire polishing | End-user safety issue; cut lips generate returns and liability |
| Supplier refuses to send custom-color sample | Cannot hold color spec or lacks color capability | You will receive “close but not right” color and have no leverage to complain |
How to Communicate Sample Results Back to the Supplier
After inspection, send the supplier a structured sample evaluation report — not a casual “looks good” or “needs improvement.” Include:
Photographs of any defects (with a ruler or caliper in frame for scale). Measurement data for dimensional checks (actual vs specified). Your scored evaluation sheet. A clear list of what must be corrected before you will approve production.
This approach accomplishes two things. First, it shows the supplier you are a serious buyer who evaluates quality systematically — this changes how they prioritize your order in production. Second, it creates a written record that you can reference if the production shipment does not match the approved sample. A supplier who ships goods that differ from the approved sample — when you have documented the approved sample in writing — has far less room to dispute a quality claim.
Learn more about request a sample kit from Elfglass.
Learn more about browse our wholesale hand pipe selection.
Need sample evaluation support? Elfglass sends sample kits with every new buyer inquiry — including standard pieces, custom color samples, and raw glass coupons for independent testing. Request your sample kit and receive a scored quality report with your shipment.
For related reading, see our pre-shipment inspection checklist for glass pipes for a detailed breakdown.
For related reading, see our glass pipe joint sizes and specifications for a detailed breakdown.
Ready to Start Your Custom Glass Pipe Project?
Get a free quote within 24 hours. MOQ from 100 pieces. NDA-protected design consultation.
About the Author
Ava Zeng has spent over 16 years at Elfglass managing production quality and buyer relationships. She has evaluated samples from over 30 glass factories across China and developed the inspection frameworks that Elfglass uses to benchmark its own production quality against competitors.
Frequently Asked Questions
How many samples should I request from a glass pipe supplier?
Request at least 3 pieces of their standard product (to test consistency), 2 pieces in your custom color, and 2 pieces with your logo or custom design. A total of 7-10 samples gives you enough data to evaluate consistency, color accuracy, and application quality. Most suppliers charge $5-15 per sample plus shipping.
How long does sample evaluation take?
Sample production typically takes 5-7 days. Air shipping from China to the US or EU takes 3-5 days. The physical inspection using the 14-point checklist takes 1-2 hours per supplier. Total cycle time from request to evaluation report: approximately 2 weeks. Plan this into your sourcing timeline before committing to a production order.
What if the sample passes but the production order has quality issues?
This is why you keep the approved sample as a physical reference. When the production shipment arrives, compare a random selection of production units against the approved sample using the same 14-point checklist. If production quality deviates from the approved sample, you have documented evidence for a quality claim. Always specify in your purchase order that production must match the approved sample.
Should I pay for samples or expect them for free?
Pay for them. Standard samples typically cost $5-15 each; custom color or logo samples may cost $20-50. A supplier who gives away samples for free has less incentive to send their best work. Paying for samples signals that you are a serious buyer and creates a commercial relationship rather than a freebie dynamic. The sample cost is negligible compared to the production order it protects.
Can I send samples to a third-party lab for testing?
Yes — and for large orders, you should. Third-party labs can verify glass type (COE 3.3 borosilicate vs soda-lime), test for lead/cadmium content (important for US/EU compliance), and perform thermal shock testing to ASTM International standards. Cost is typically $100-300 per test. For orders above $10,000, third-party verification is a worthwhile investment.
