
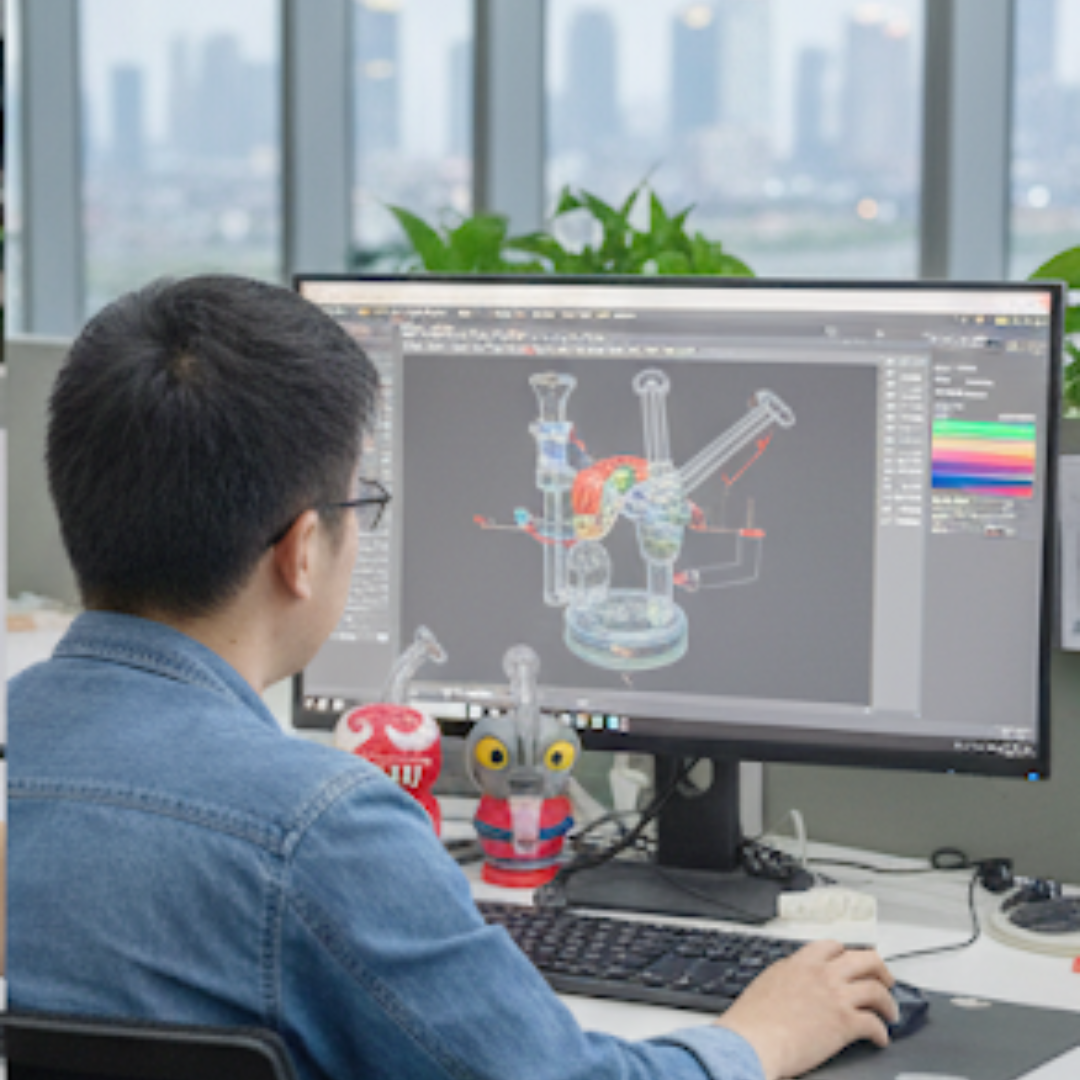
Sketch to Sample in 7 Days: The Rapid Sample Turnaround Guide
In glass manufacturing, a rapid sample (small-batch manufacturing costs depend on getting this right) is a finished, shippable prototype produced within seven calendar days of receiving a design brief. Not a rendering. Not a stock photo of a similar piece. A real glass pipe, blown, annealed, inspected, and boxed. That is what rapid sample turnaround actually means on a factory floor. The ICC’s Incoterms® rules standardize how responsibility and risk split between buyer and seller in international trade (Incoterms rules).
From approved design to finished sample takes 7–15 days at most Chinese glass factories, and full production of 500–1,000 units usually runs 25–40 days after sample approval. Complex percolator designs, new molds, or decorated finishes such as gold fuming extend the timeline.
Most factories quote two to four weeks for this step. The gap between three weeks and seven days is not luck. It is process architecture: who answers your brief, how fast design files come back, whether the workshop controls its own molds, and whether quality checks run on a checklist or on memory.
This guide maps the seven-day workflow used at Elfglass, a 20-person glass workshop in Shenzhen operating since 2010 from a 1,000-square-meter facility. Each section covers one phase of the clock: what the factory outputs, what you must do, and where the timeline usually breaks.
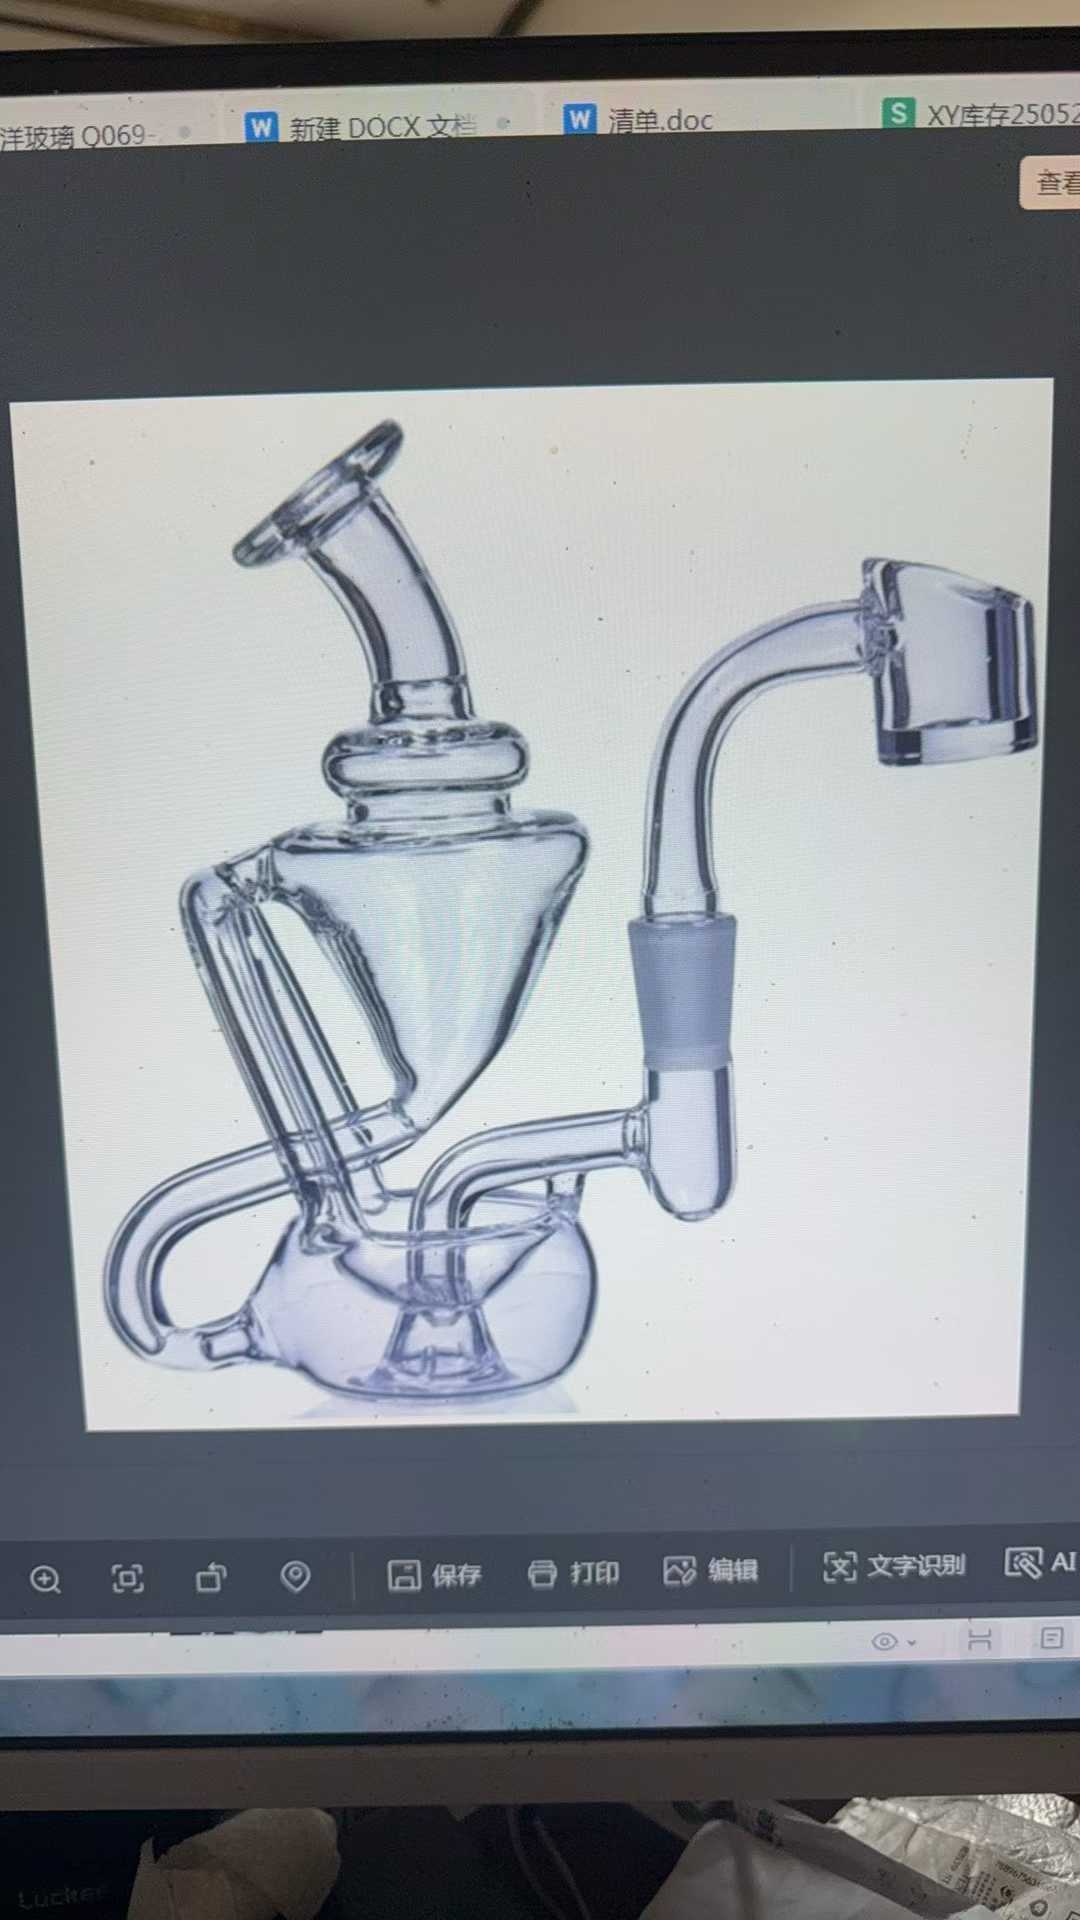
Why Sample Speed Decides Whether Your Brand Launches On Time
The sample is gate zero of your launch. You cannot photograph it, list it, pitch it to distributors, or take pre-orders until the physical piece exists. Every downstream activity waits on that one object.
Consider a common scenario. A brand plans a spring drop. The owner sends a sketch to a factory that quotes three weeks for sampling. The sample arrives late, the photoshoot slips, the bulk order starts late, and the spring drop lands in summer. No single step failed dramatically. The delay simply compounded. One slow week at the sampling stage rarely stays one week; it multiplies through every stage that follows.
Speed also reveals operational maturity. A factory that runs a disciplined seven-day sampling line usually carries that discipline into bulk production. A factory that stumbles on a single sample will not suddenly organize itself at 5,000 units.
Here is the honest comparison. Some factories treat sampling as a favor, squeezing your prototype between bigger paid orders. Others treat sampling as a product with its own schedule, owner, and checklist. Only the second type ships in seven days.
The 7-Day Timeline at a Glance
Five phases. Seven days. One owner per phase. This table is the spine of the entire guide. Elfglass keeps standard designs ready for sampling in its wholesale dab rigs catalog, which can shorten the workflow even further.
| Day | Phase | Factory Output | Your Action |
|---|---|---|---|
| 1 | Requirements (“Soul Connection”) | Feasibility feedback, NDA | Send sketch/reference + specs |
| 2 | 3D Design | CAD rendering delivered | Review & approve |
| 3-5 | Sample Blowing | Physical sample + annealing | Stand by for questions |
| 5-6 | QC & Photo Approval | Inspection report + photos/video | Approve or request revision |
| 6-7 | Shipping | Tracking number provided | Confirm shipping method |
Two notes on reading this table. First, the blowing phase itself runs 1-3 days depending on complexity: simple silhouettes land at the short end, sculptural or multi-part pieces at the long end. Second, Day 7 “Shipping” means your package leaves the factory with a tracking number. Courier transit time follows, which is why the official Elfglass process timeline marks delivery at Day 15.
Day 1 — Requirements Communication (The Soul Connection)
Day 1 is alignment. You send the brief. The factory answers with feasibility feedback the same day: what works, what needs adjusting, what it costs, and whether the seven-day clock holds.
A workable Day 1 brief contains a sketch or reference image with key dimensions, glass color or finish, logo placement intent, and your target quantity. A napkin sketch with numbers beats a polished mood board without them. Every time.
Before any project work starts, an NDA gets signed. That is standard at Elfglass, and it runs in both directions: your files stay yours, and custom molds made for your project remain exclusive to your brand afterward. If IP protection is on your mind, the guide on protecting product design when sourcing overseas covers the full stack.
One insider warning. Day 1 is where most timelines die quietly. Send a single photo with no dimensions on Friday night, and the next two days vanish into clarification emails instead of design work. At a 20-person workshop you talk directly to the people who will blow the glass. Use that access. Ask your hard questions on Day 1, not Day 6.

Day 2 — 3D Design Output and Review
Day 2 produces your CAD rendering. The design team converts the sketch into a dimensional visual spec: overall shape, wall thickness appearance, color, logo position, and joint geometry if your design has one.
Review it like an inspector, not a fan. Run this checklist: overall dimensions against your spec. Wall thickness and base weight appearance. Color and finish against your brief. Logo placement and scale. Joint size and angle, where applicable.
Approval triggers the spec lock. That lock is the hinge of the whole timeline. It converts a conversation into a production instruction, and it becomes the reference your QC inspector measures against on Day 5. Any change after the lock reopens the clock.
Here is the opinionated version. The rendering is a contract, not a decoration. Five careful minutes on Day 2 can save you from holding an unwanted sample on Day 6. If you are unsure which file formats a factory can actually use, from rough sketch to CAD to STEP files, the guide on design files factories need explains the hierarchy.
Days 3-5 — Sample Blowing (The 1-3 Day Core)
This is the heart of rapid sample turnaround. The blowing phase runs 1-3 days, depending on complexity.
Three things happen in sequence. If your design needs a mold, it gets made first; every custom mold is built in-house and stays exclusive to your brand afterward. Then a craftsperson hand-blows the piece at the flame, shaping the body, adding color work, and forming joints. Finally, the piece anneals in a controlled cool-down that relieves the internal stress glass accumulates while being shaped.
Why 1-3 days and not three hours? Glass keeps its own strict schedule. A simple straight silhouette can be blown, finished, and cooled in one cycle. A piece with a thick sculptural base, layered color, or multiple chambers needs staged heating, pauses, and reheats. Rushing that sequence leaves stress lines behind. Stress lines become cracks, either in transit or in a customer’s hands.
Annealing is what separates professional sampling from quick prototyping. Workshops that skip or shorten it ship samples that look perfect on camera and shatter on a shelf three weeks later. Ask any factory how it anneals before you send a sketch. The answer tells you a lot.
One pattern worth knowing. Heavy color work or unusual geometry pushes blowing toward the 3-day end. Nothing is wrong. Physics is simply billing for complexity. If your design is unusually complex, ask on Day 1 whether a simplified first sample makes sense.
Ready to start Day 1?
Send your sketch or reference image to Elfglass and get feasibility feedback within one working day. NDA before project start, exclusive molds, and 10,000 pieces of monthly capacity behind every approved sample.
Inspect Real Production Glass Before You Commit
We ship COE 3.3 borosilicate samples in 1 to 3 days and back every order with a documented QC process and inspection report. Request a sample kit and judge the wall thickness, color, and finish yourself.
MOQ from 100 pieces | BSCI / WRAP / ISO 9001 | NDA before every project
Days 5-6 — Quality Check and Photo Approval
A finished sample does not ship blind. Days 5-6 run a two-part gate: factory inspection first, then your remote approval.
The QC checklist covers five points. Wall thickness consistency across the body. Joint fit and seal, where applicable. Surface quality, checked for bubbles, scratches, and scorch marks. Color accuracy against the Day 2 rendering. Final measurements against the locked CAD spec.
Next comes the photo and video package: multiple angles under consistent lighting, close-ups of the logo and joints, and a short handling video that shows the piece in hand. This package is your decision point, and you have exactly two calls. Approve, and the sample enters the shipping queue. Flag a problem, and a revision begins.
Revisions are normal and budgeted, but they are a separate workflow from this guide. The sample revision process guide covers how many rounds to expect after a first sample and what each one costs in time. To know exactly what to inspect when the photos land, use the glass pipe sample evaluation guide.
One warning. Approve from photos only what you would accept in hand. If the video leaves any detail ambiguous, ask for another angle now. Not after delivery.
Days 6-7 — Shipping Arrangement
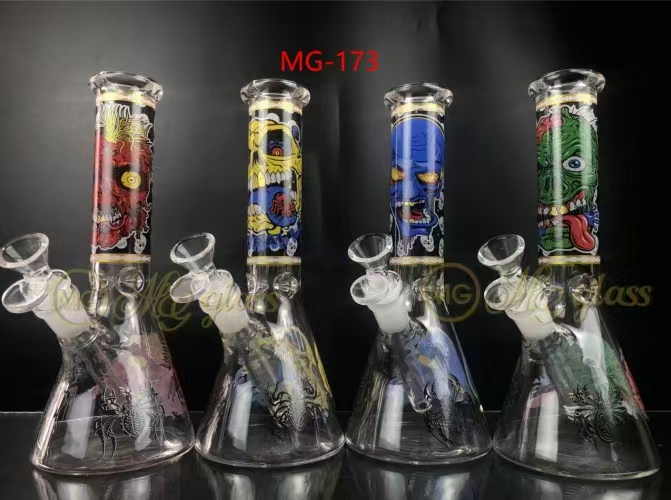
An approved sample gets packed like something worth protecting. Bubble wrap first, foam cushioning second, a rigid corrugated box third, fragile markings outside. One sample broken in transit costs more time than a week of careful packing ever saves.
Courier choice is a simple trade. International express, typically DHL, FedEx, or UPS, is the standard pick for a single sample: faster, fully tracked, priced higher. Economy lines save money but stretch transit and often blur tracking detail. For a sample feeding a launch deadline, express wins nearly every time.
The tracking number goes out by Day 7, closing the factory side of the clock. Courier transit then adds days depending on destination, which is why the official Elfglass process timeline marks delivery at Day 15.
Sample fees are settled before Day 1, never discovered after. How those fees behave, when they get credited against bulk orders, when they get refunded, and when they become sunk cost, is covered in the guide to sample fees and refunds. Confirm your fee terms in writing before the project starts.
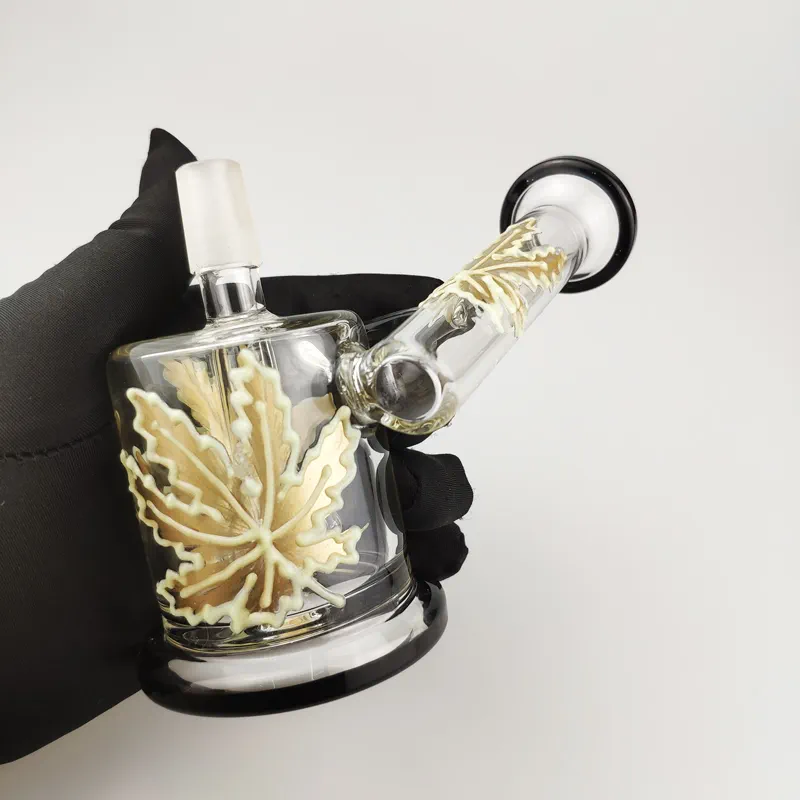
What Customers Need to Prepare Before Day 1
The fastest samples belong to prepared customers. You do not need perfect files before Day 1. You need an honest minimum viable brief: the smallest input set that lets a factory judge feasibility and start CAD.
Here it is, with the minimum acceptable version of each item.
| Item | Why the Factory Needs It | Minimum Acceptable Version |
|---|---|---|
| Sketch or reference image | Defines shape and intent | Hand drawing with labeled measurements |
| Key dimensions | Feeds CAD and feasibility judgment | Length, bowl diameter, estimated wall thickness |
| Glass color or finish | Determines material preparation | Color name or a reference photo |
| Logo artwork | Sets placement and application method | Vector file or a clear high-resolution image |
| Target quantity | Shapes feasibility and pricing | A rough range, such as 500-1,000 pieces |
| Deadline | Sets the clock for the whole project | Launch date or trade show date |
Missing one item does not stop the project. It just starts the clarification loop that eats Day 1 alive. If you want a fillable structure, the guide on how to write a glass pipe design brief provides one.
What Slows Samples Down (And How to Prevent It)
Seven-day timelines rarely die from factory failure. They die from small, preventable friction. Here are the five killers that show up most often.
| Delay Cause | Cost to Timeline | Prevention |
|---|---|---|
| Vague specs on Day 1 | +1-3 days of clarification loops | Send dimensions with every sketch |
| Slow rendering feedback | +1 day for every silent day | One decision-maker, 24-hour reply rule |
| Design changes after spec lock | Partial or full timeline reset | Freeze at Day 2; save edits for revision rounds |
| Over-complex first sample | Blowing stretches past 3 days | Simplify sample one; add complexity in sample two |
| Missing shipping details | Dispatch waits for your reply | Provide address and contact on Day 1 |
The most common killer is silent. A rendering sits unreviewed in someone’s inbox for three days. The factory hits every internal deadline, and the customer still calls the project late.
Two prevention rules beat all the others. Assign one decision-maker on your side and give them a 24-hour response window. And confirm on Day 1 which calendar the factory works on, so “Day 2” means the same day to both sides.
One opinionated note. A slow reply feels free because nobody invoices you for silence. But every silent day consumes the same buffer you wanted for revisions. Fast feedback is the cheapest insurance in sourcing.
Conclusion — After the Sample Arrives
Recap the system. Day 1 aligns the brief and signs the NDA. Day 2 locks the spec through the rendering. Days 3-5 blow and anneal the piece. Days 5-6 inspect it and win your approval. Days 6-7 pack it and hand it to the courier. That is rapid sample turnaround as a designed workflow, not a favor.
After the sample arrives, the workflow you just ran becomes your standard. Here is your action roadmap.
Step 1. Assemble the minimum viable brief: sketch with dimensions, glass color, logo artwork, target quantity, deadline. Use the design brief guide if you need structure.
Step 2. Send it and sign the NDA before the project starts. Your design stays yours; your mold stays exclusive. The guide to protecting product design IP when sourcing overseas covers first-timers.
Step 3. Block 24 hours on Day 2 for rendering review. Prepare the right file formats with the CAD and STEP files guide.
Step 4. When the sample lands, evaluate it against the locked spec, not against memory. The sample evaluation guide shows you how.
Step 5. Approve, then scale. Elfglass runs 10,000 pieces of monthly capacity behind a 20-person Shenzhen team that has worked together since 2010. An approved sample converts directly into a production slot.
The seven-day clock starts when your brief lands. Send it.
Frequently Asked Questions
How long does it take to make a glass pipe sample?
At Elfglass, the blowing phase itself takes 1-3 days depending on design complexity. The full sketch-to-shipping workflow runs 7 days, covering requirements communication, 3D design, blowing, quality check, and photo approval. International courier transit adds days on top; the official process timeline marks delivery at Day 15.
What do I need to send to get a custom glass pipe sample?
A sketch or reference image with key dimensions, your preferred glass color or finish, logo artwork if applicable, a target quantity, and your deadline. A hand drawing with labeled measurements is enough to start Day 1. The design brief guide gives you a fillable structure.
Is the sample fee refundable?
Fee terms are confirmed before Day 1, never discovered afterward. Depending on the project, a sample fee can be credited against your bulk order. The full breakdown, including when fees get refunded and when they become sunk cost, is in the sample fees guide.
Do you sign an NDA before sampling?
Yes. Elfglass signs the NDA before the project starts, not after files are shared. Custom molds made for your design stay exclusive to your brand. More detail is in the guide to protecting product design when sourcing overseas.
What if the sample doesn’t match my design?
Compare it against the approved Day 2 rendering first. That rendering is the shared reference for both sides. If the deviation is a manufacturing fault, the factory corrects it. If you changed your mind after the spec lock, that is a revision round running on its own clock. The sample revision process guide explains how many rounds to budget.
Sampling is only the first stage. See our full OEM process to follow the journey from sample approval to mass production and delivery.
About the Author
Ava Zeng is the founder of Elfglass, a Shenzhen-based borosilicate glass pipe manufacturer serving B2B brands worldwide. Every guide on this site is grounded in her production-floor experience — the annealing lines, QC checkpoints, and export orders behind each claim. The sample timeline described here follows the workflow used in rapid prototyping processes, where design iteration is compressed into days rather than weeks.
Ready to Source Custom Glass Pipes?
Get a free quote within 24 hours. MOQ from 100 pieces. NDA-protected design consultation.
